If you’ve been following us on Instagram for some time then you will have seen us share our half underwater, half overwater split-shot photos (a.k.a split level photos a.k.a over-unders) from places such as Maldives, The Bahamas, Jamaica, Croatia and Sardinia. A question that we get asked all the time is “guys, how do you take those half underwater, half overwater, over-under, split-level photo thingys? They look soooo cool”. Well, we use a really simple technique that anyone can follow and it doesn’t require any knowledge of professional photography. So, wait no longer because we’re about to share our very simple, 3-step tutorial with you…
Table of Contents
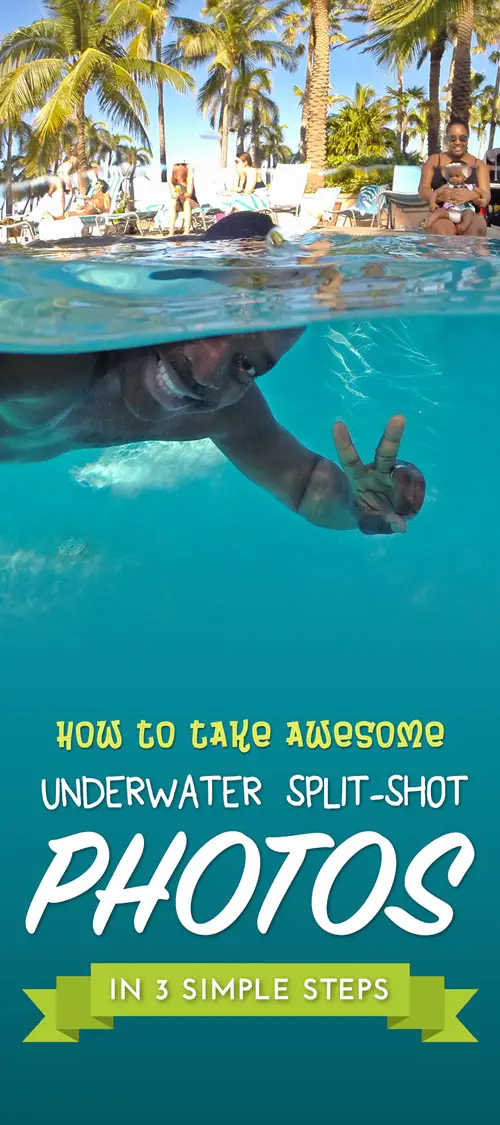
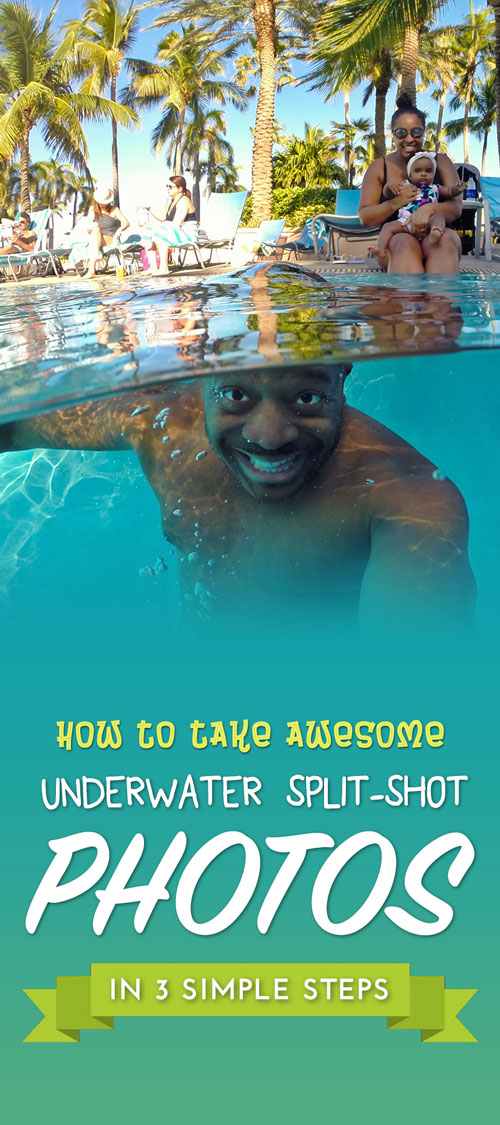
So you can take half underwater split-shot photos like these…
Will you be taking half underwater split-shot photos on your travels? Build even more excitement for your upcoming vacation or holiday by counting down the days, hours, minutes & seconds until your trip with our CAN’T WAIT! Vacation Countdown app 😊

Before you start, you’ll need to invest in 2 small pieces of equipment…
If you don’t have one already, you’ll need to get yourself a GoPro HERO action camera. We use both a GoPro HERO7 and a GoPro HERO4, which aren’t the cheapest gadgets out there but we have endless fun with ours, so we’d happily recommend that you take a GoPro with you on EVERY trip, just like we do!.
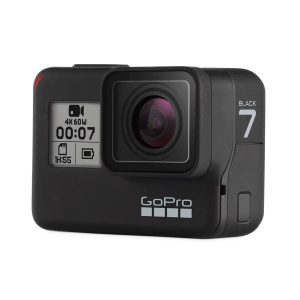 GoPro HERO7 Black Action Camera
You’ll also need a GoPro Dome Port, which we bought from Amazon (here). This is essentially a big, orb-shaped window (or lens) that you’ll put your GoPro camera inside when you take your half underwater split-shot photos. Note: Currently, no camera on its own can take a photo half underwater and half overwater (even with a waterproof case), but the Dome Port allows us to achieve this with little effort or skill required!
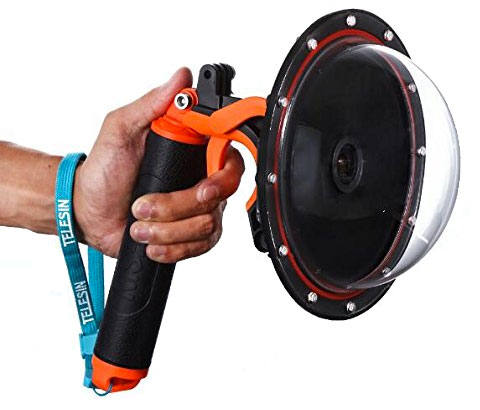 Telesin GoPro Dome Port for Half Underwater Split-Shot Photos
Have you already got a GoPro action camera? The Telesin Dome Port (above) is 100% compatible with the GoPro HERO3, HERO3+ and HERO4. If you’ve got a GoPro HERO5, HERO6 or HERO7, then you’ll need to use the SHOOT Dome Port instead.
To make things easier, we’ve made this compatibility table for you…
| Your GoPro Action Camera | The GoPro Dome Port You Need |
| GoPro HERO | Aquadome Dome Port |
| GoPro HERO (2018) | SHOOT Dome Port (or the UK Version) |
| GoPro HERO+ | Aquadome Dome Port |
| GoPro HERO+ LCD | Aquadome Dome Port |
| GoPro HERO3 | Telesin Dome Port (or the UK Version) |
| GoPro HERO3+ | Telesin Dome Port (or the UK Version) |
| GoPro HERO4 | Telesin Dome Port (or the UK Version) |
| GoPro HERO5 | SHOOT Dome Port (or the UK Version) |
| GoPro HERO6 | SHOOT Dome Port (or the UK Version) |
| GoPro HERO7 | SHOOT Dome Port (or the UK Version) |
Once you’ve got your GoPro action camera and dome port, you’re good to go! Just follow our simple tutorial, which is only 3 steps long…
STEP 1 – Set Up Your GoPro Camera
Before getting in the water, switch on your GoPro HERO camera and navigate to the Timelapse option (timelapse photo, not timelapse video) by pressing the “mode” button repeatedly until you reach that option. If your timer is set to any number higher than 2 seconds, we’d recommend navigating to the settings option and changing your timer to 2 seconds. By taking a photo every 2 seconds over a 5-minute period, you’ll capture 150 photos!
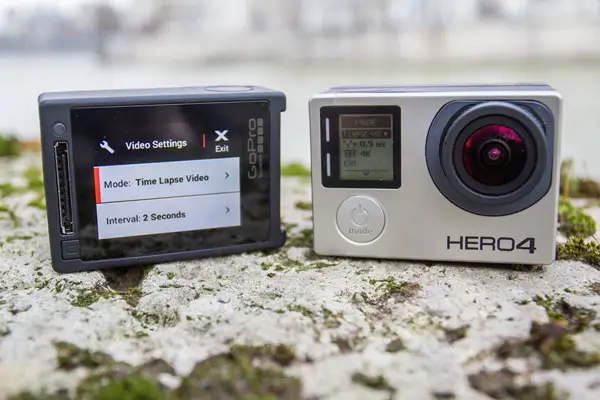 GoPro HERO4 Settings – Set to Take Photos at 2 Second Intervals (pic: DC Rainmaker)
STEP 2 – Put the GoPro Camera in the Dome Port
Attached to the rear of the GoPro Dome Port is a transparent GoPro case, which looks identical to a standard GoPro waterproof case. Open this case (by pulling the string-toggle on the top of it) and put the GoPro camera inside it, then close the case. Your GoPro camera is now attached to the Dome and you’re armed with all the necessary tools to become the next underwater split-shot photography pro!
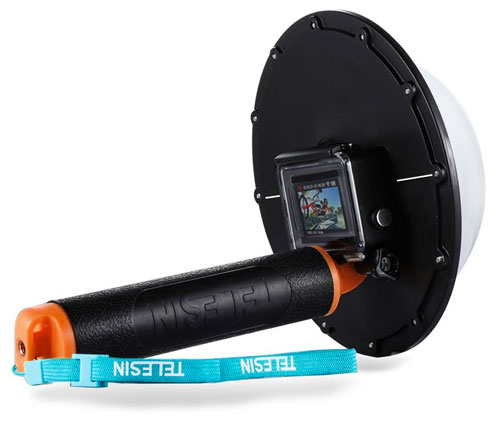 Your Equipment Should Look Like This with the GoPro HERO Inserted in the Dome Port
STEP 3 – Level-Up, Pose and Shoot!
Now that you’ve set up your equipment, you’re ready to take your first of many underwater split-shot photos… or split level photos… or over-unders – call ’em what you want! (1) Enter the water and point the GoPro Dome Port towards your subject, (2) then half-submerge the dome in the water, ensuring that the long white line across the back of it is level with the water level (see below photo) and (3) press the silver button on the top of the GoPro case to start taking photos every 2 seconds. Spend at least 5 minutes in the sea / swimming pool / lagoon and you’ll have captured 150 photos!
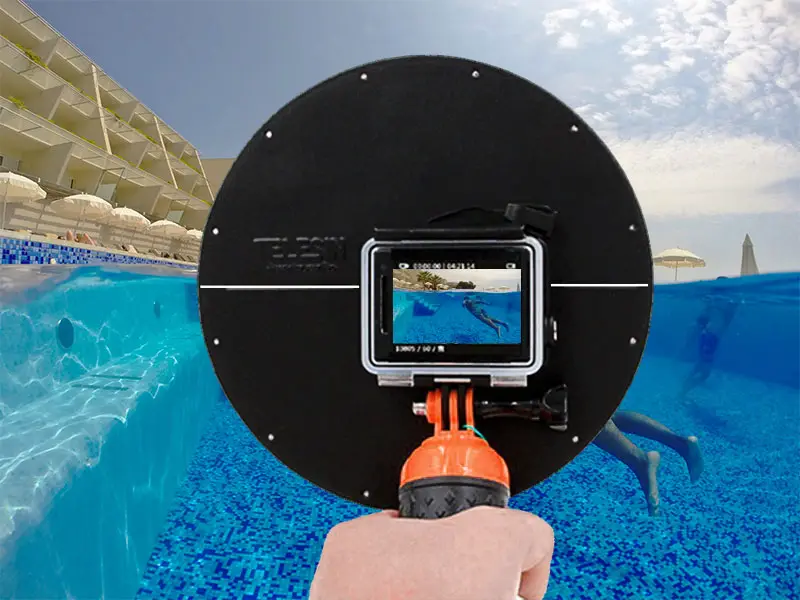 Ensure that the White Line on the GoPro Dome Port rear is Level with the Water Level
There you have it, you should now have plenty of half overwater, half underwater split-shot photos saved on your camera, ready to transfer to your smartphone and share with your Instagram followers and Facebook friends. Looking for more professional cameras? Find the best camera and lens reviews at BCL Photography.
What if your photos come out too dark or too slanted?
No problem. Our photos sometimes come out a little dark (due to lack of sunlight and Mase’s dark skin!) and sometimes too slanted (because water moves)… but there’s an app to easily fix that! PicMonkey is an online photo editor that will brighten, sharpen and straighten your photos… with absolutely no professional photographic retouching skills needed! Just look at how it worked its’ magic on our own photos…
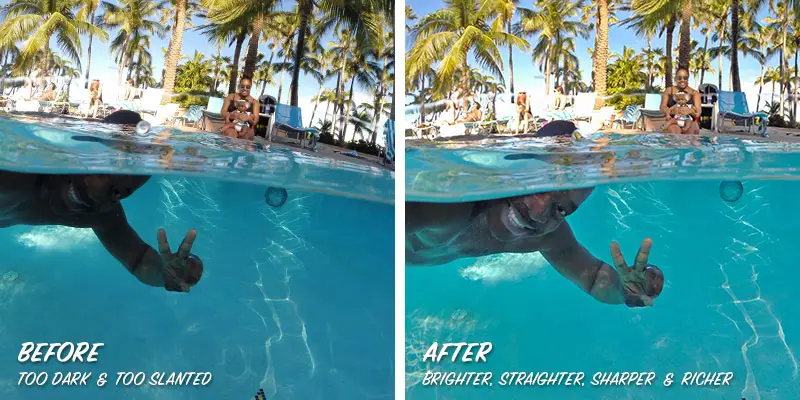 Before and After PicMonkey Edit
Step 1: Sign up for PicMonkey’s free trial
Step 2: Scroll through a few PicMonkey tutorials to quickly learn how to edit a photo
Step 3: Use PicMonkey’s online editor or mobile app to straighten, brighten and sharpen your photo
IF YOU ENJOYED OUR HOW-TO GUIDE, FEEL FREE TO PIN IT :o)
Take your pick! (or should that be pic?)
 |
 |
 |


")


Pingback: Snap! 10 Picture-Perfect Travel Photo Ideas for Instagram | Go To Travel Guides
Pingback: Snap! 10 Picture-Perfect Travel Photo Ideas for Instagram | Nat & Mase's Travel Blog
Pingback: 10 Best Instagram Story Templates for your 2023 Travels